How to use DingoVPN on macOS
If the download does not start automatically, please click on download button to start.
Download optimal build for your Mac
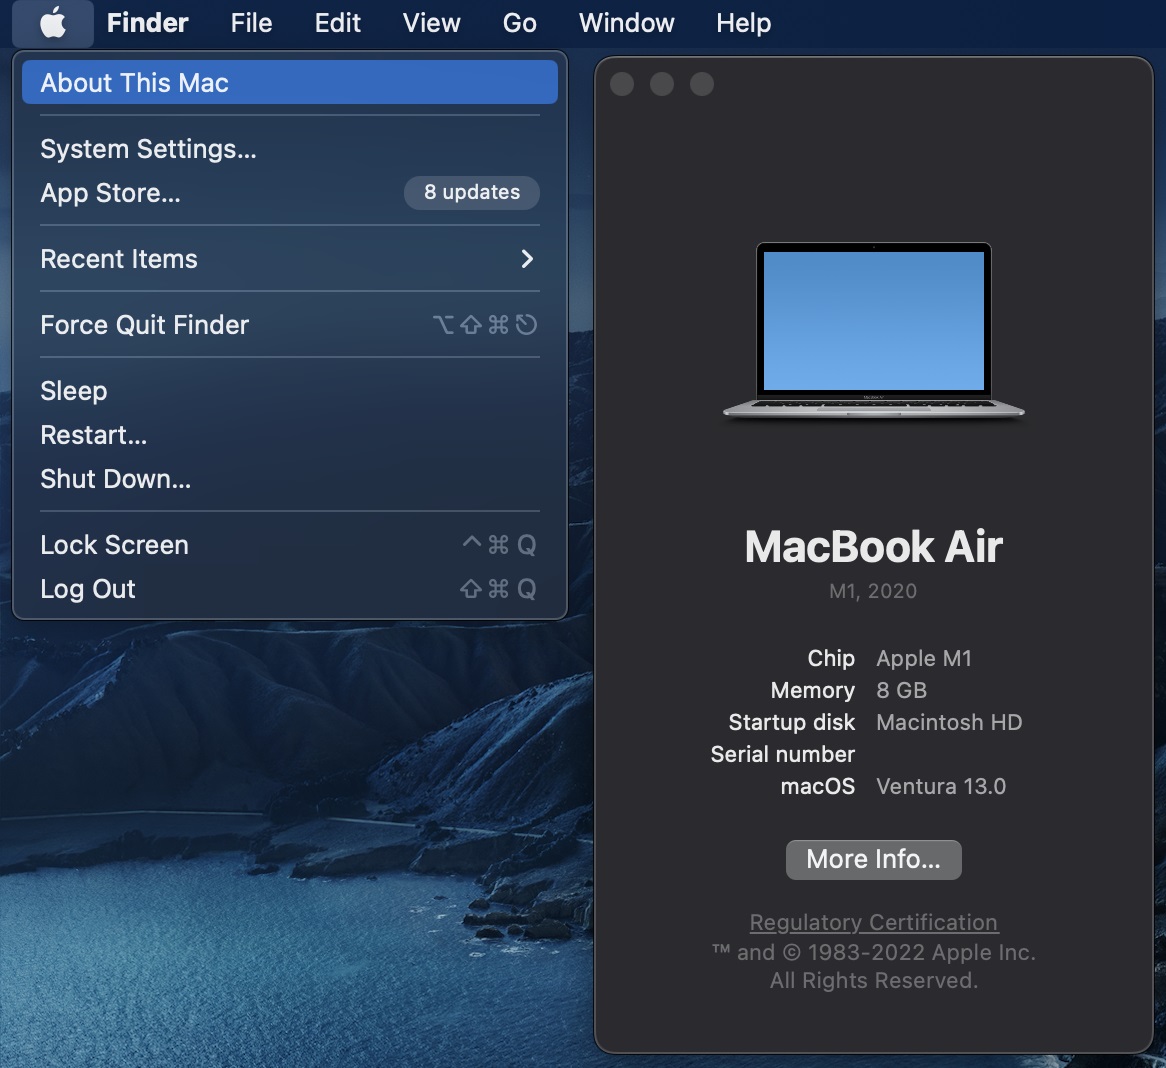
If you have Apple Silicon chip (like M1, M2 etc) download optimized build for Apple Silicon (arm64 architecture). In other case use universal build for Mac on Intel (x64 architecture). It will be working on Apple Silicon chips but not so fast as optimized version.
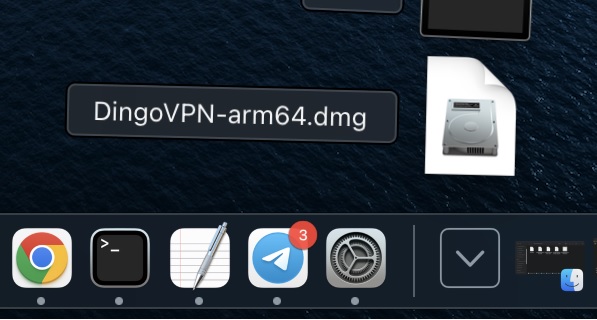
Open downloaded DingoVPN DMG
Click on Downloads folder then on downloaded DingoVPN dmg file.
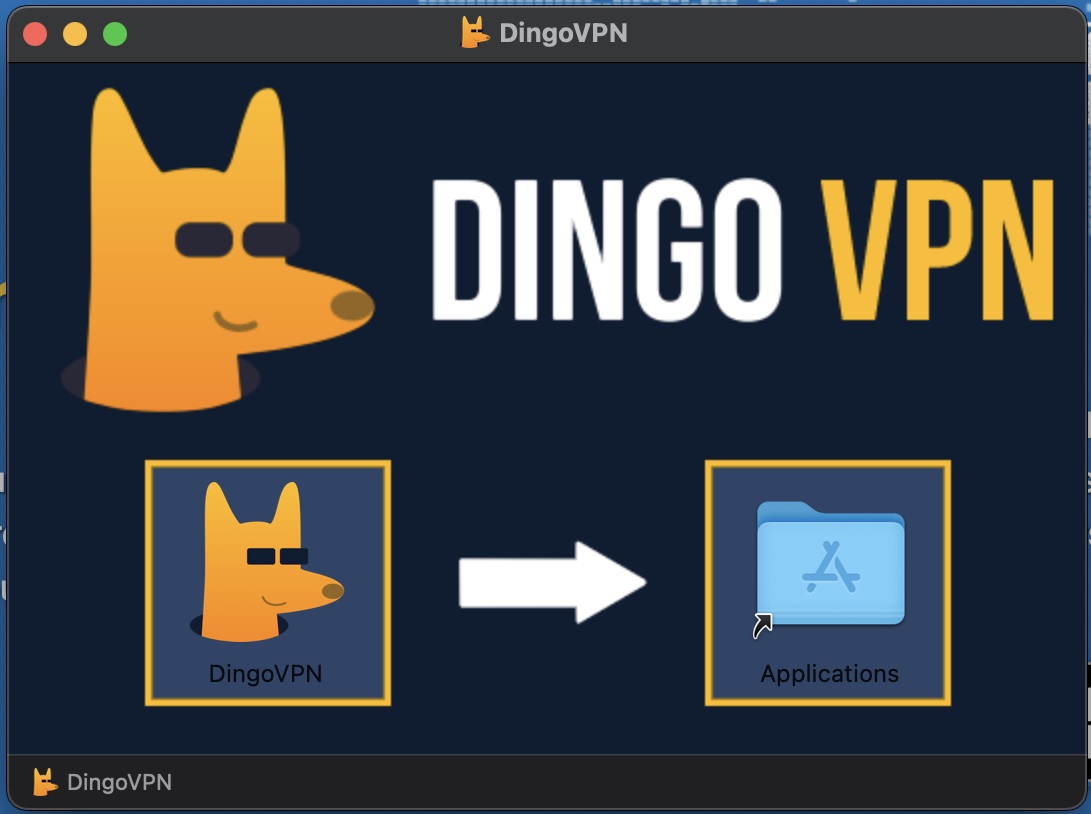
Install DingoVPN App
Click on DingoVPN app icon and move it to Application folder link to install.
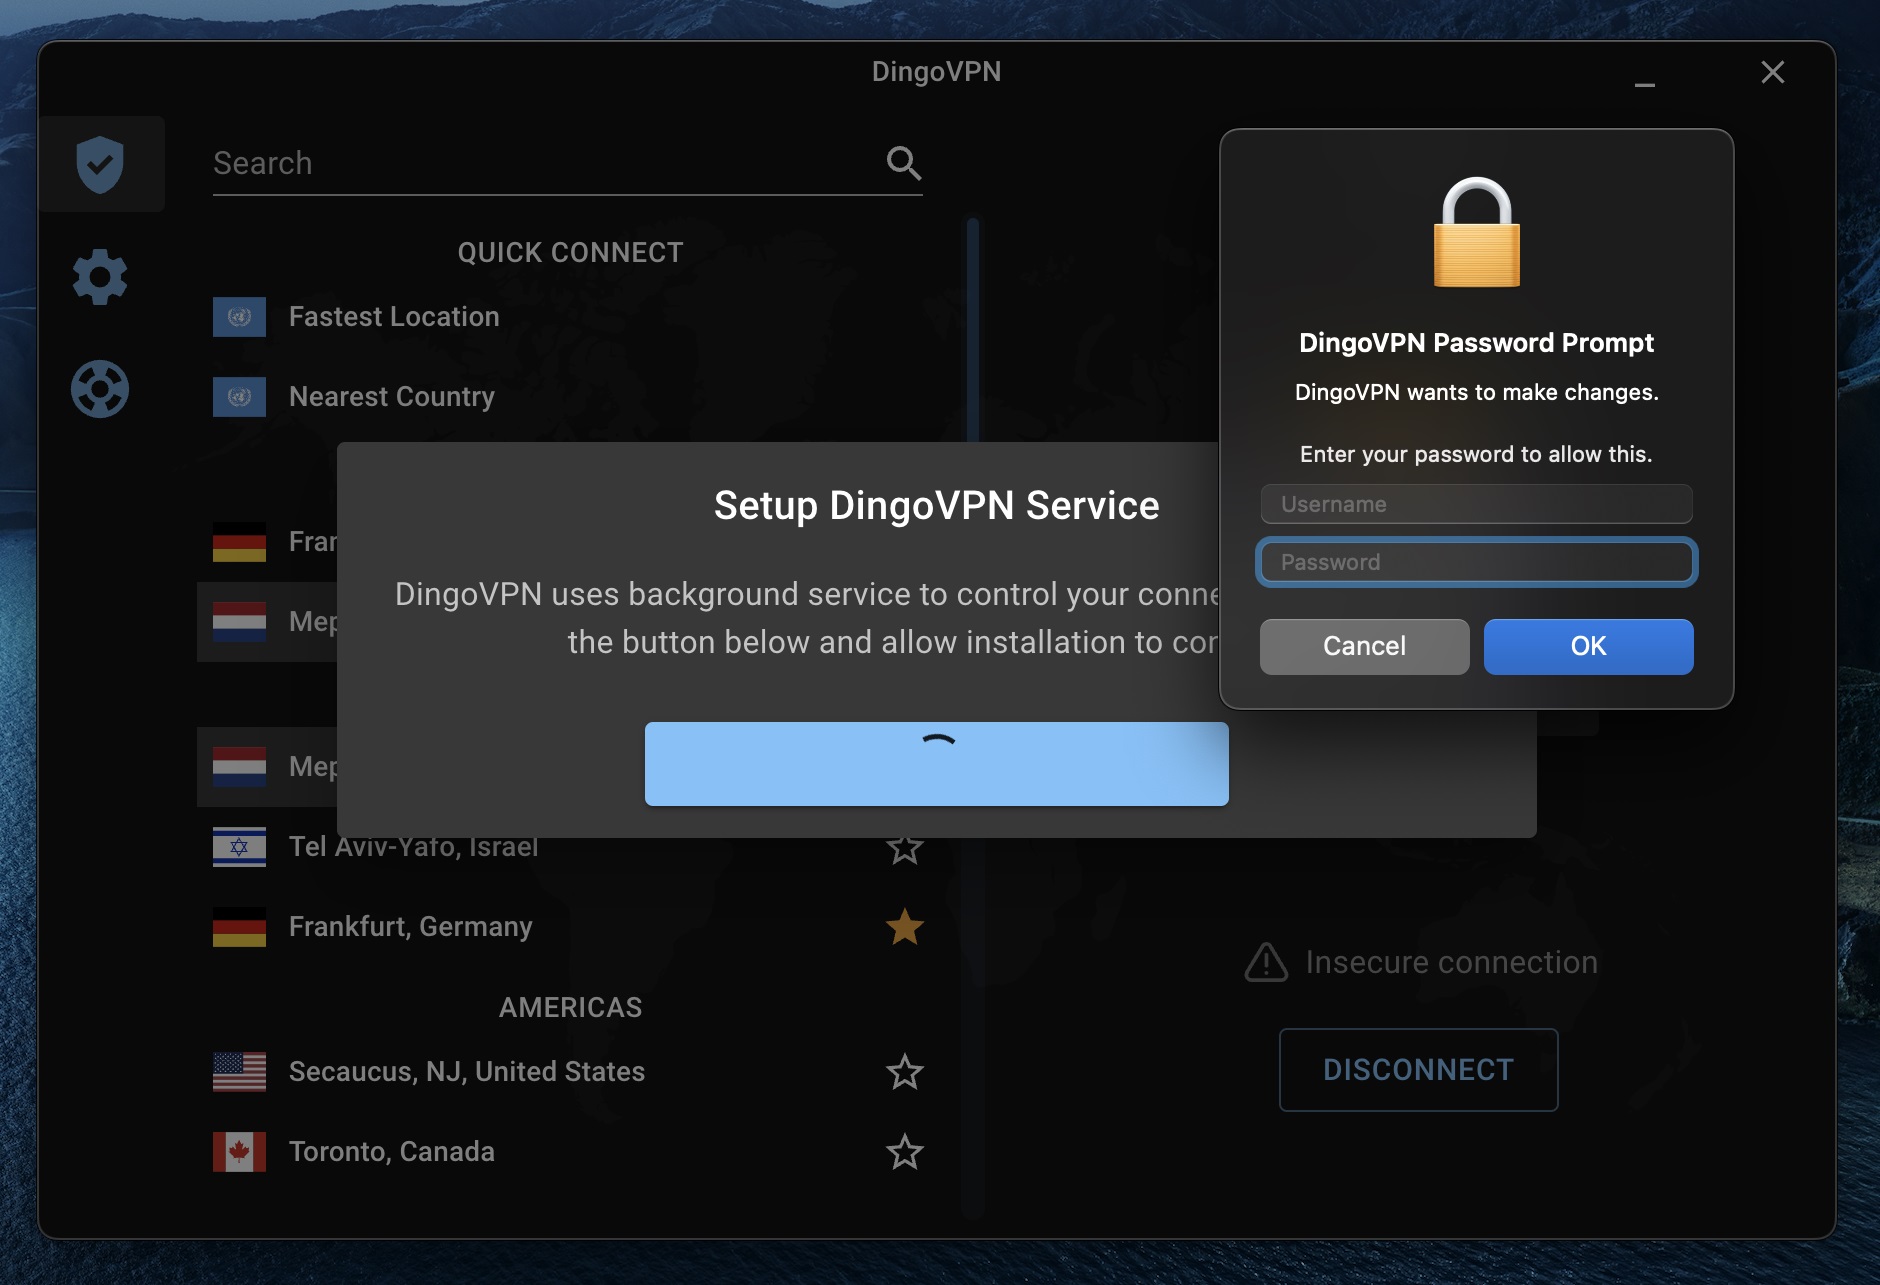
Install DingoVPN Service
After login DingoVPN app will ask you to download, install and run background service required for connection. It is essential for users to authorize the DingoVPN Service under their account and grant administrative privileges to the background service. This step is crucial to ensure that the system does not prompt for a sudo password each time the VPN is connected or disconnected. By running the background service with administrator rights, DingoVPN can operate seamlessly without requiring constant user intervention, providing a more efficient and user-friendly experience.
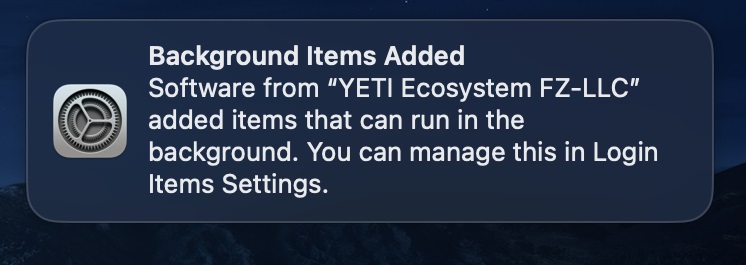
Background service notification
After service intallation macOS Ventura and newer versions will show notification about added background items. Do not worry Software from "YETI Ecosystem FZ-LLC" is DingoVPN background service.
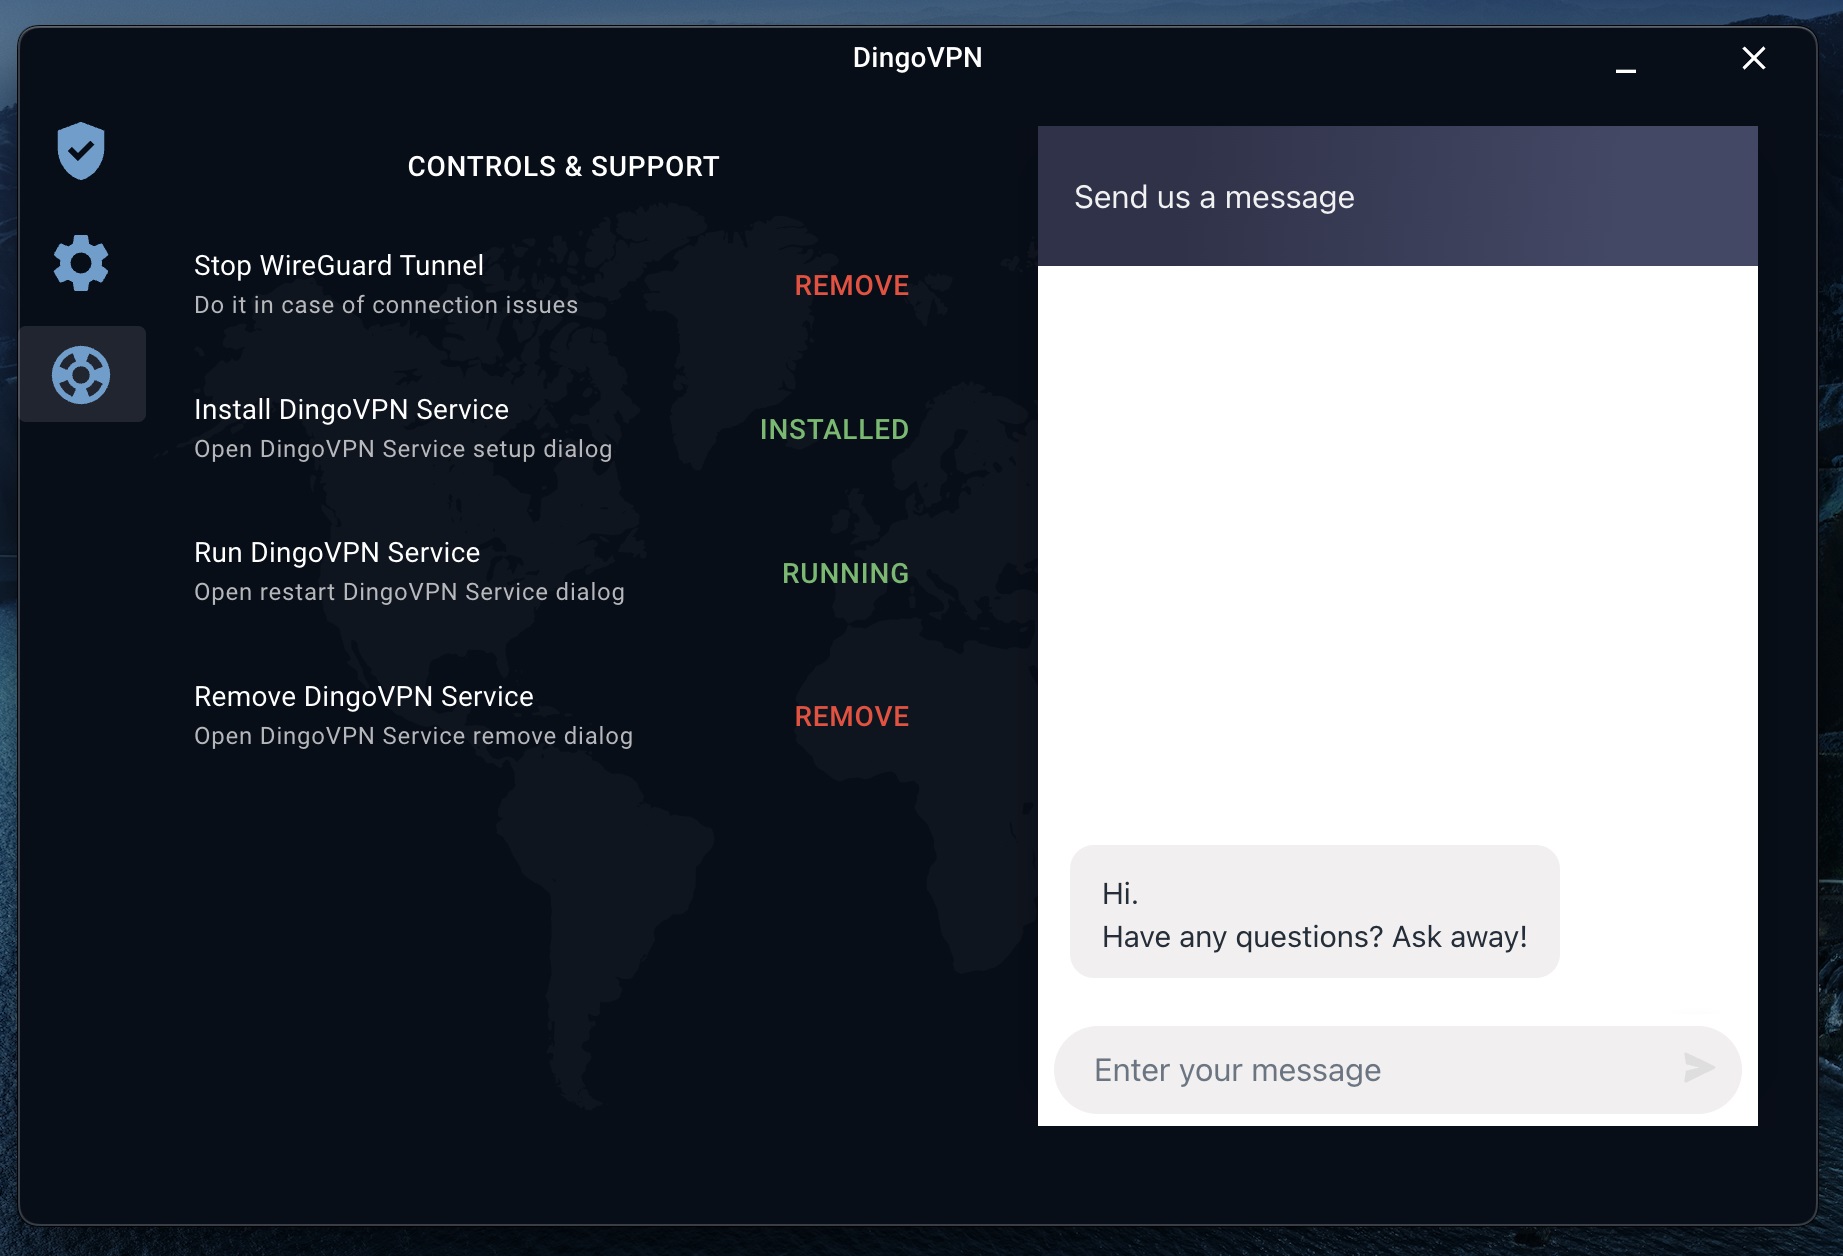
Control DingoVPN Service
You could always remove DingoVPN backgroud service or force disconnect VPN tunnel on Controls & Support tab of DingoVPN App